

How To Export Books And Students from Junior Librarian To A CSV File
This tutorial teaches you how to export books and students databases from Junior Librarian.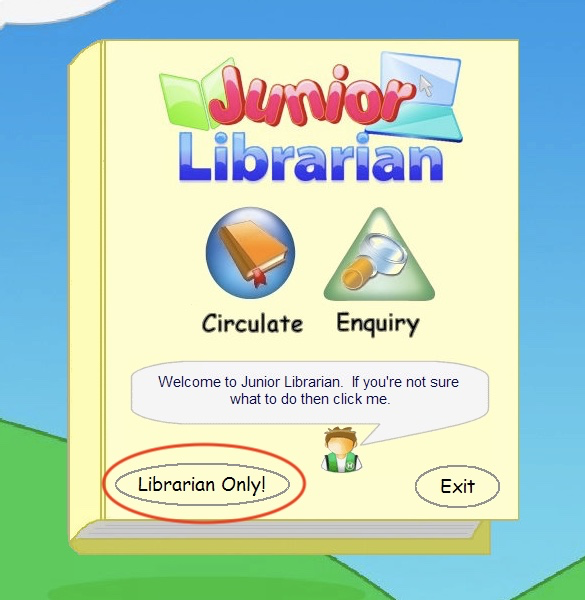
Open the Junior Librarian Software and select the Librarian Only Button.
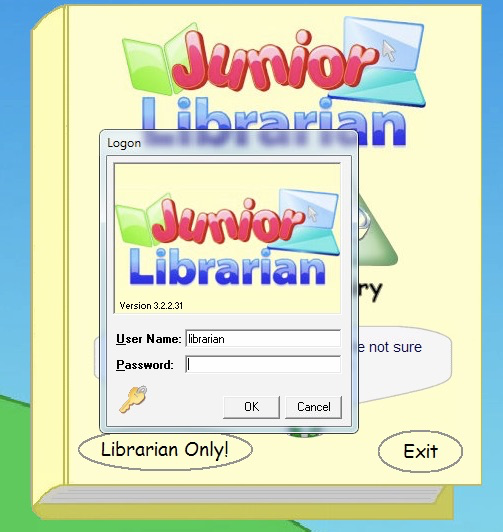
Enter your Username and Password in the dialog shown above.
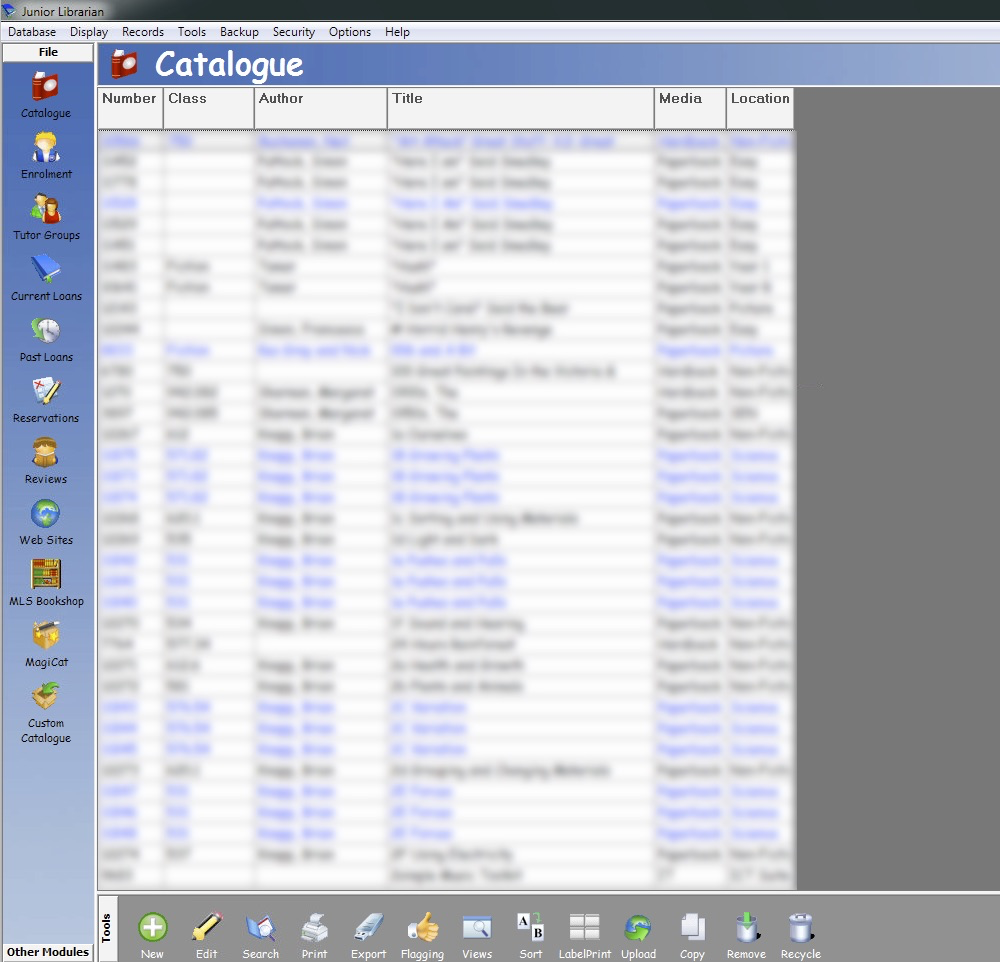
The Junior Librarian Catalogue screen will now load.
This screen shows you some basic details about the books in your library .
Unfortunately the default view does not show the books barcode number so we will need to create a custom view for this.
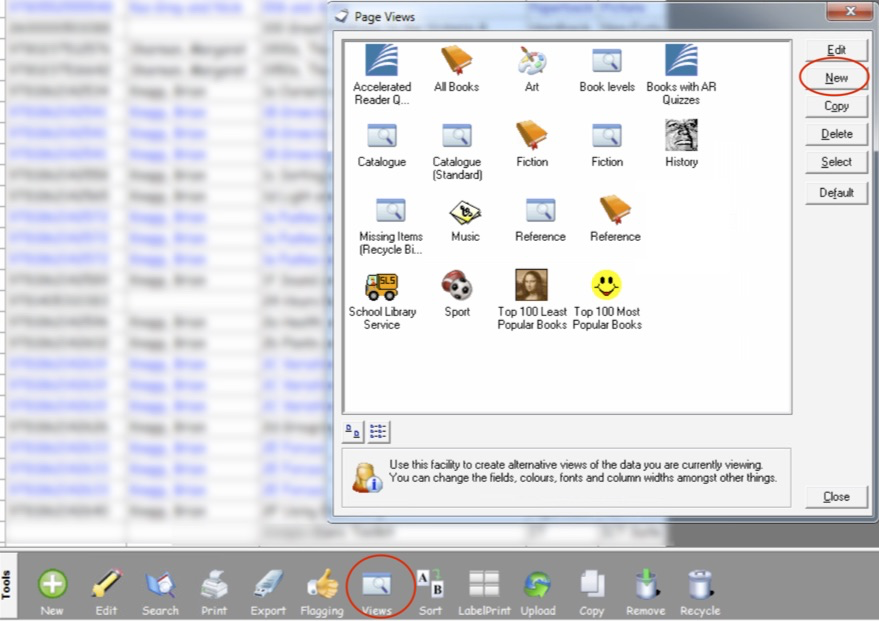
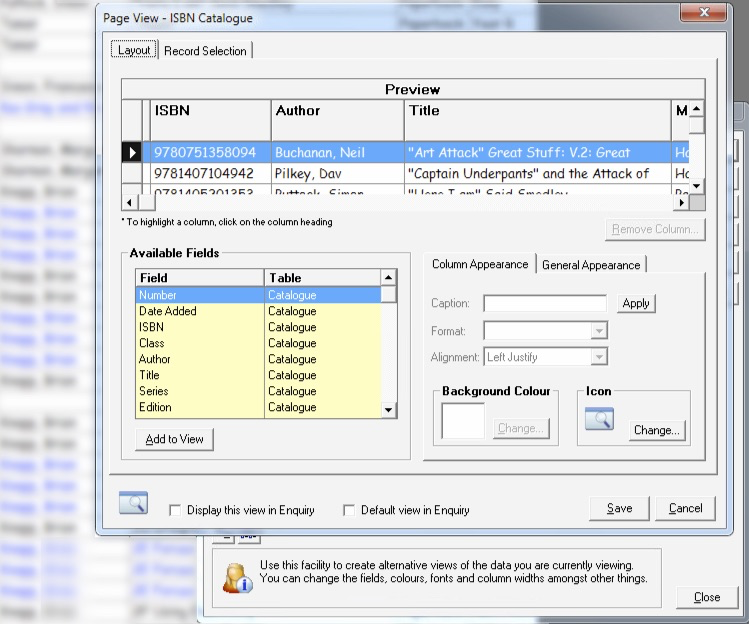
You will now see a screen that allows you to make custom views, the fields that are needed are
ISBN, Author and Title (you can add others, if desired, for back-up purposes).
Once you have these three fields in your preview box, save your new View; I called mine ISBN Catalogue.
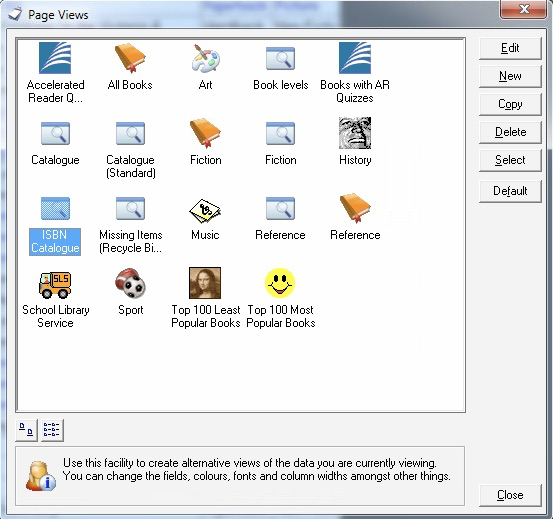
You can now select your new view which will display the Barcode number needed to import your
data into the Peninsula QuickTrack Library Software.
ready to be imported into the QuickTrack Library Software.
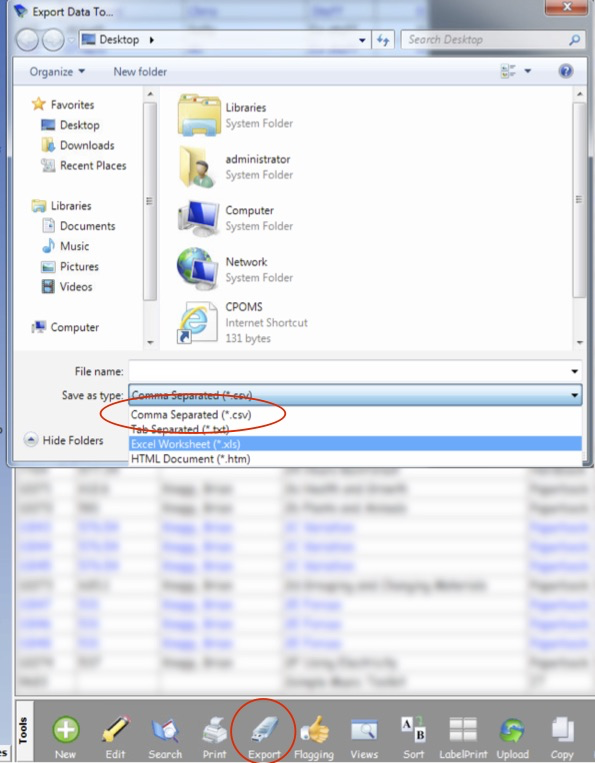
Select the Export option from the Tools bar at the bottom and then select
Comma Separated (*.csv) from the Save as type option.
Give your CSV a relevant name, choose a location and save the file.
Repeat the above steps on your Enrolment database, ensuring that you have the PIN,
Surname and Forename fields included. You can include more fields if desired.
Once you have your two CSV files ready you can then import the information
in them into the Peninsula QuickTrack Library Software.